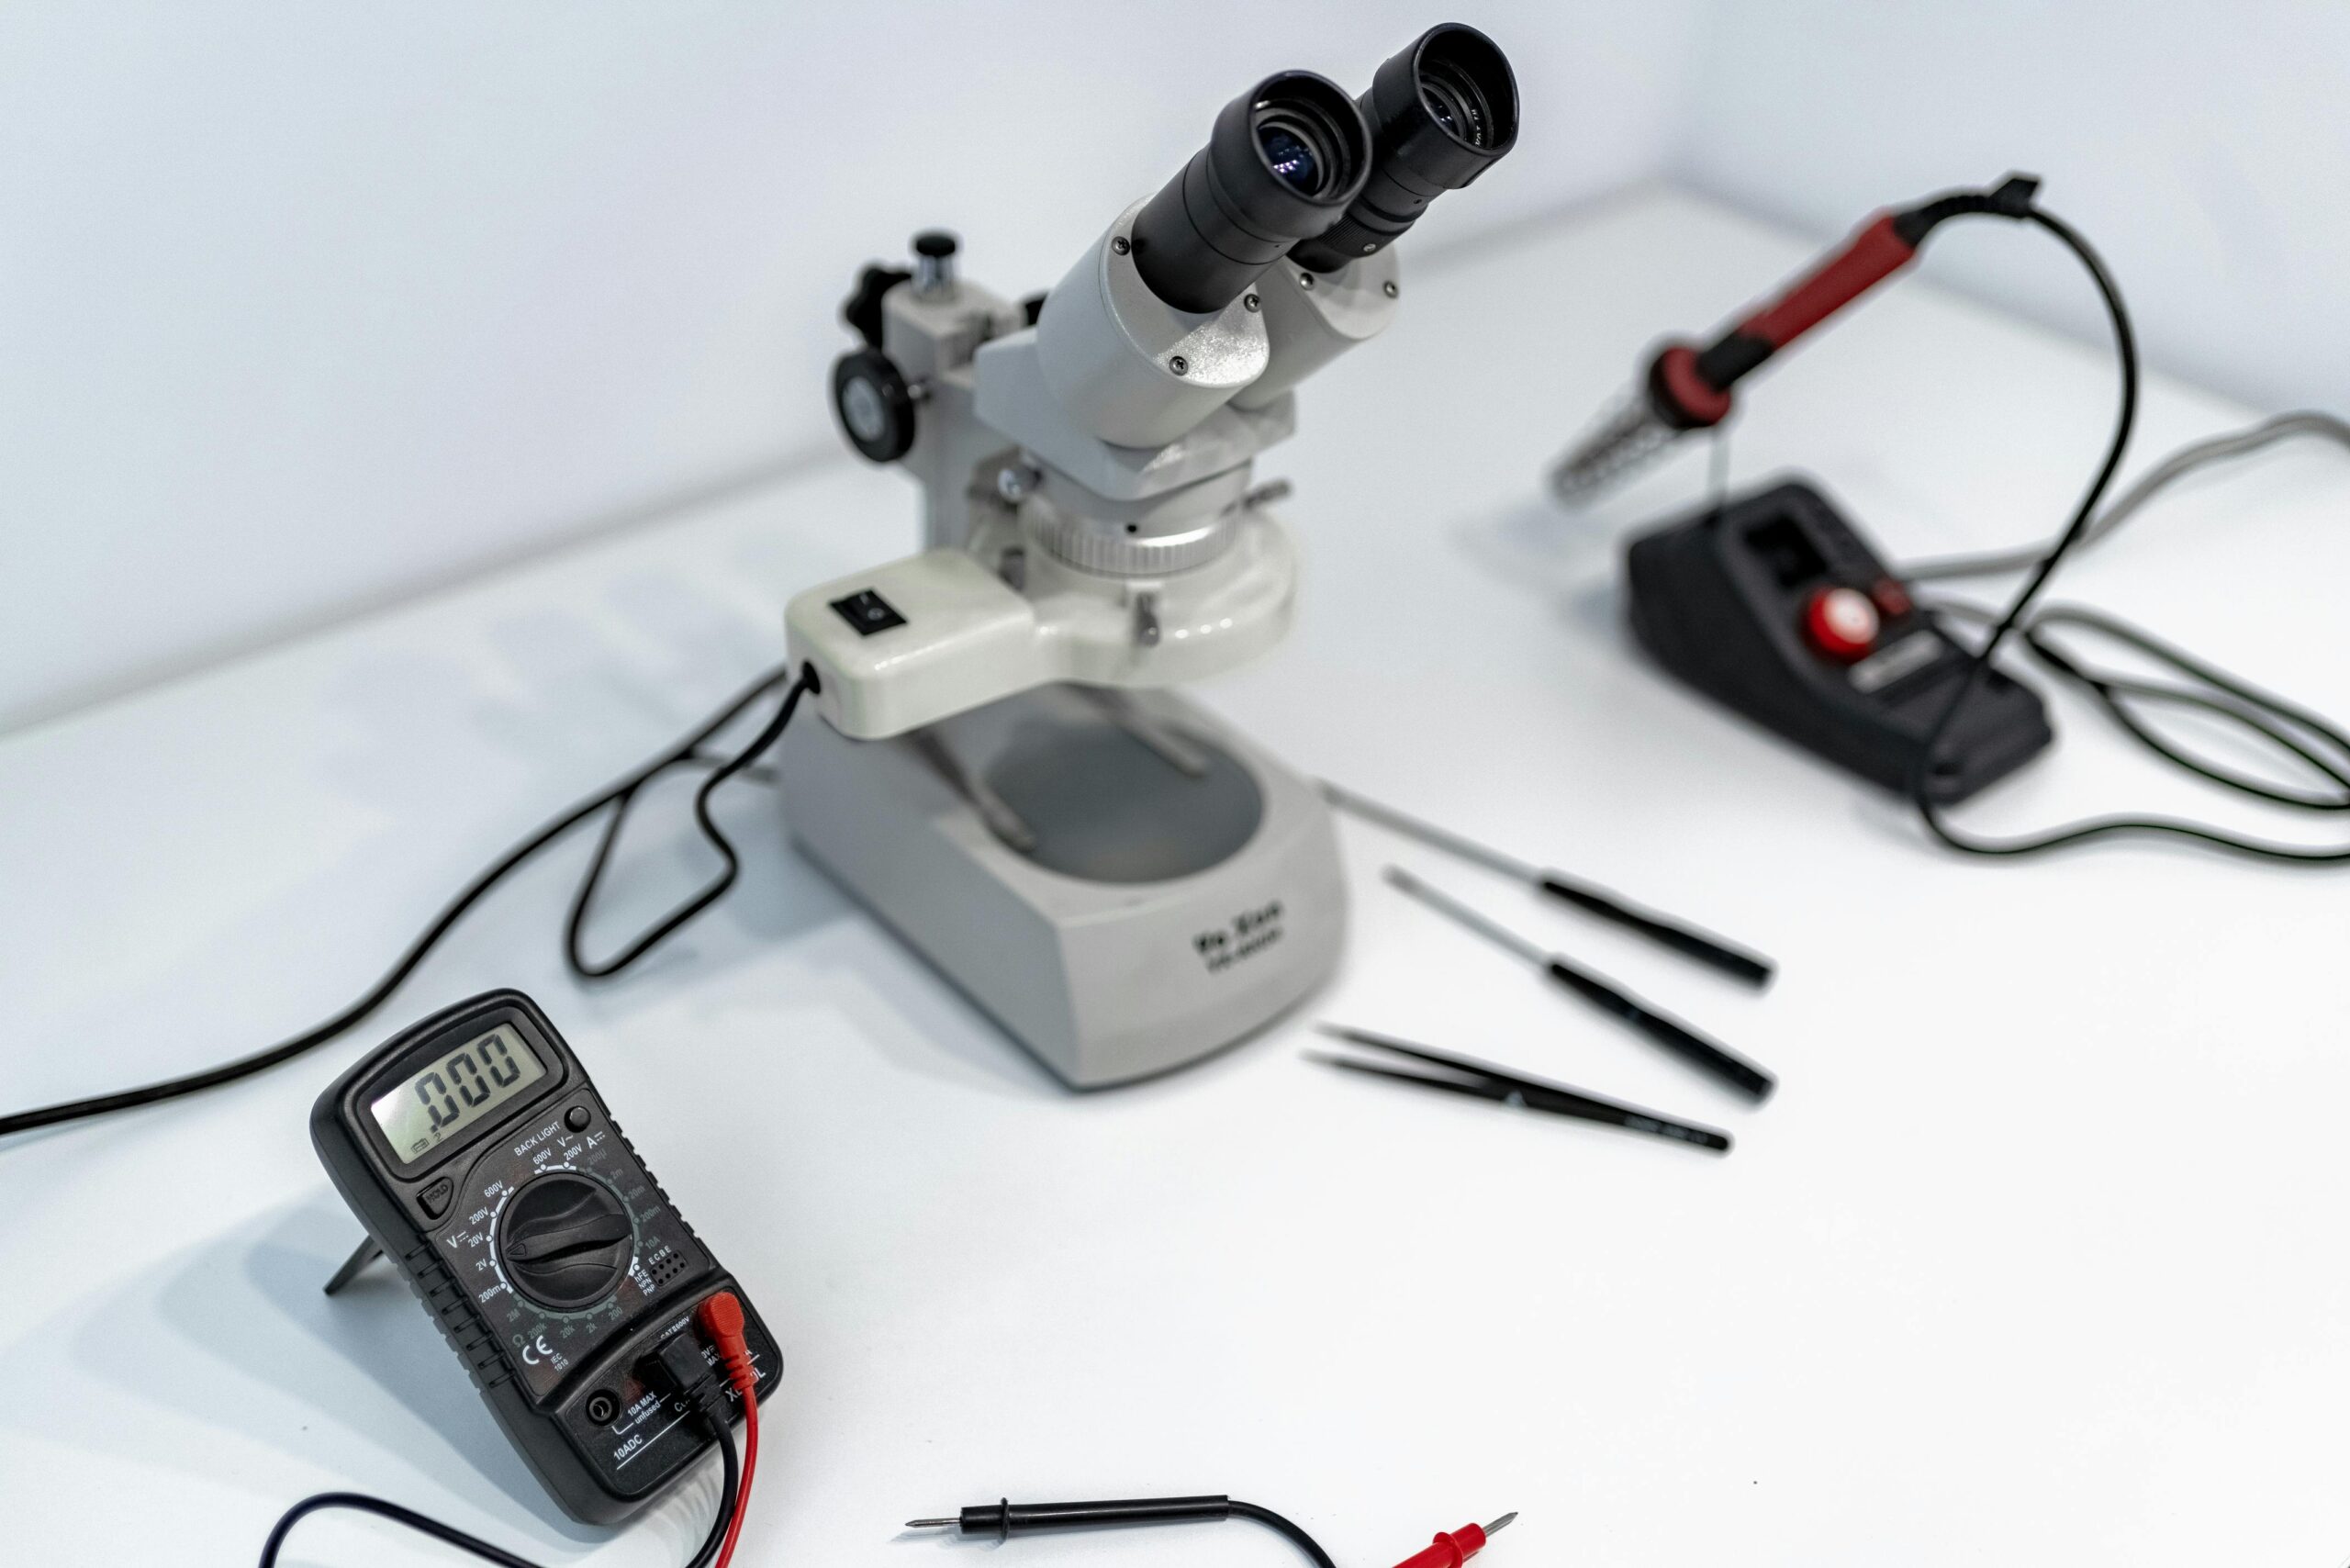
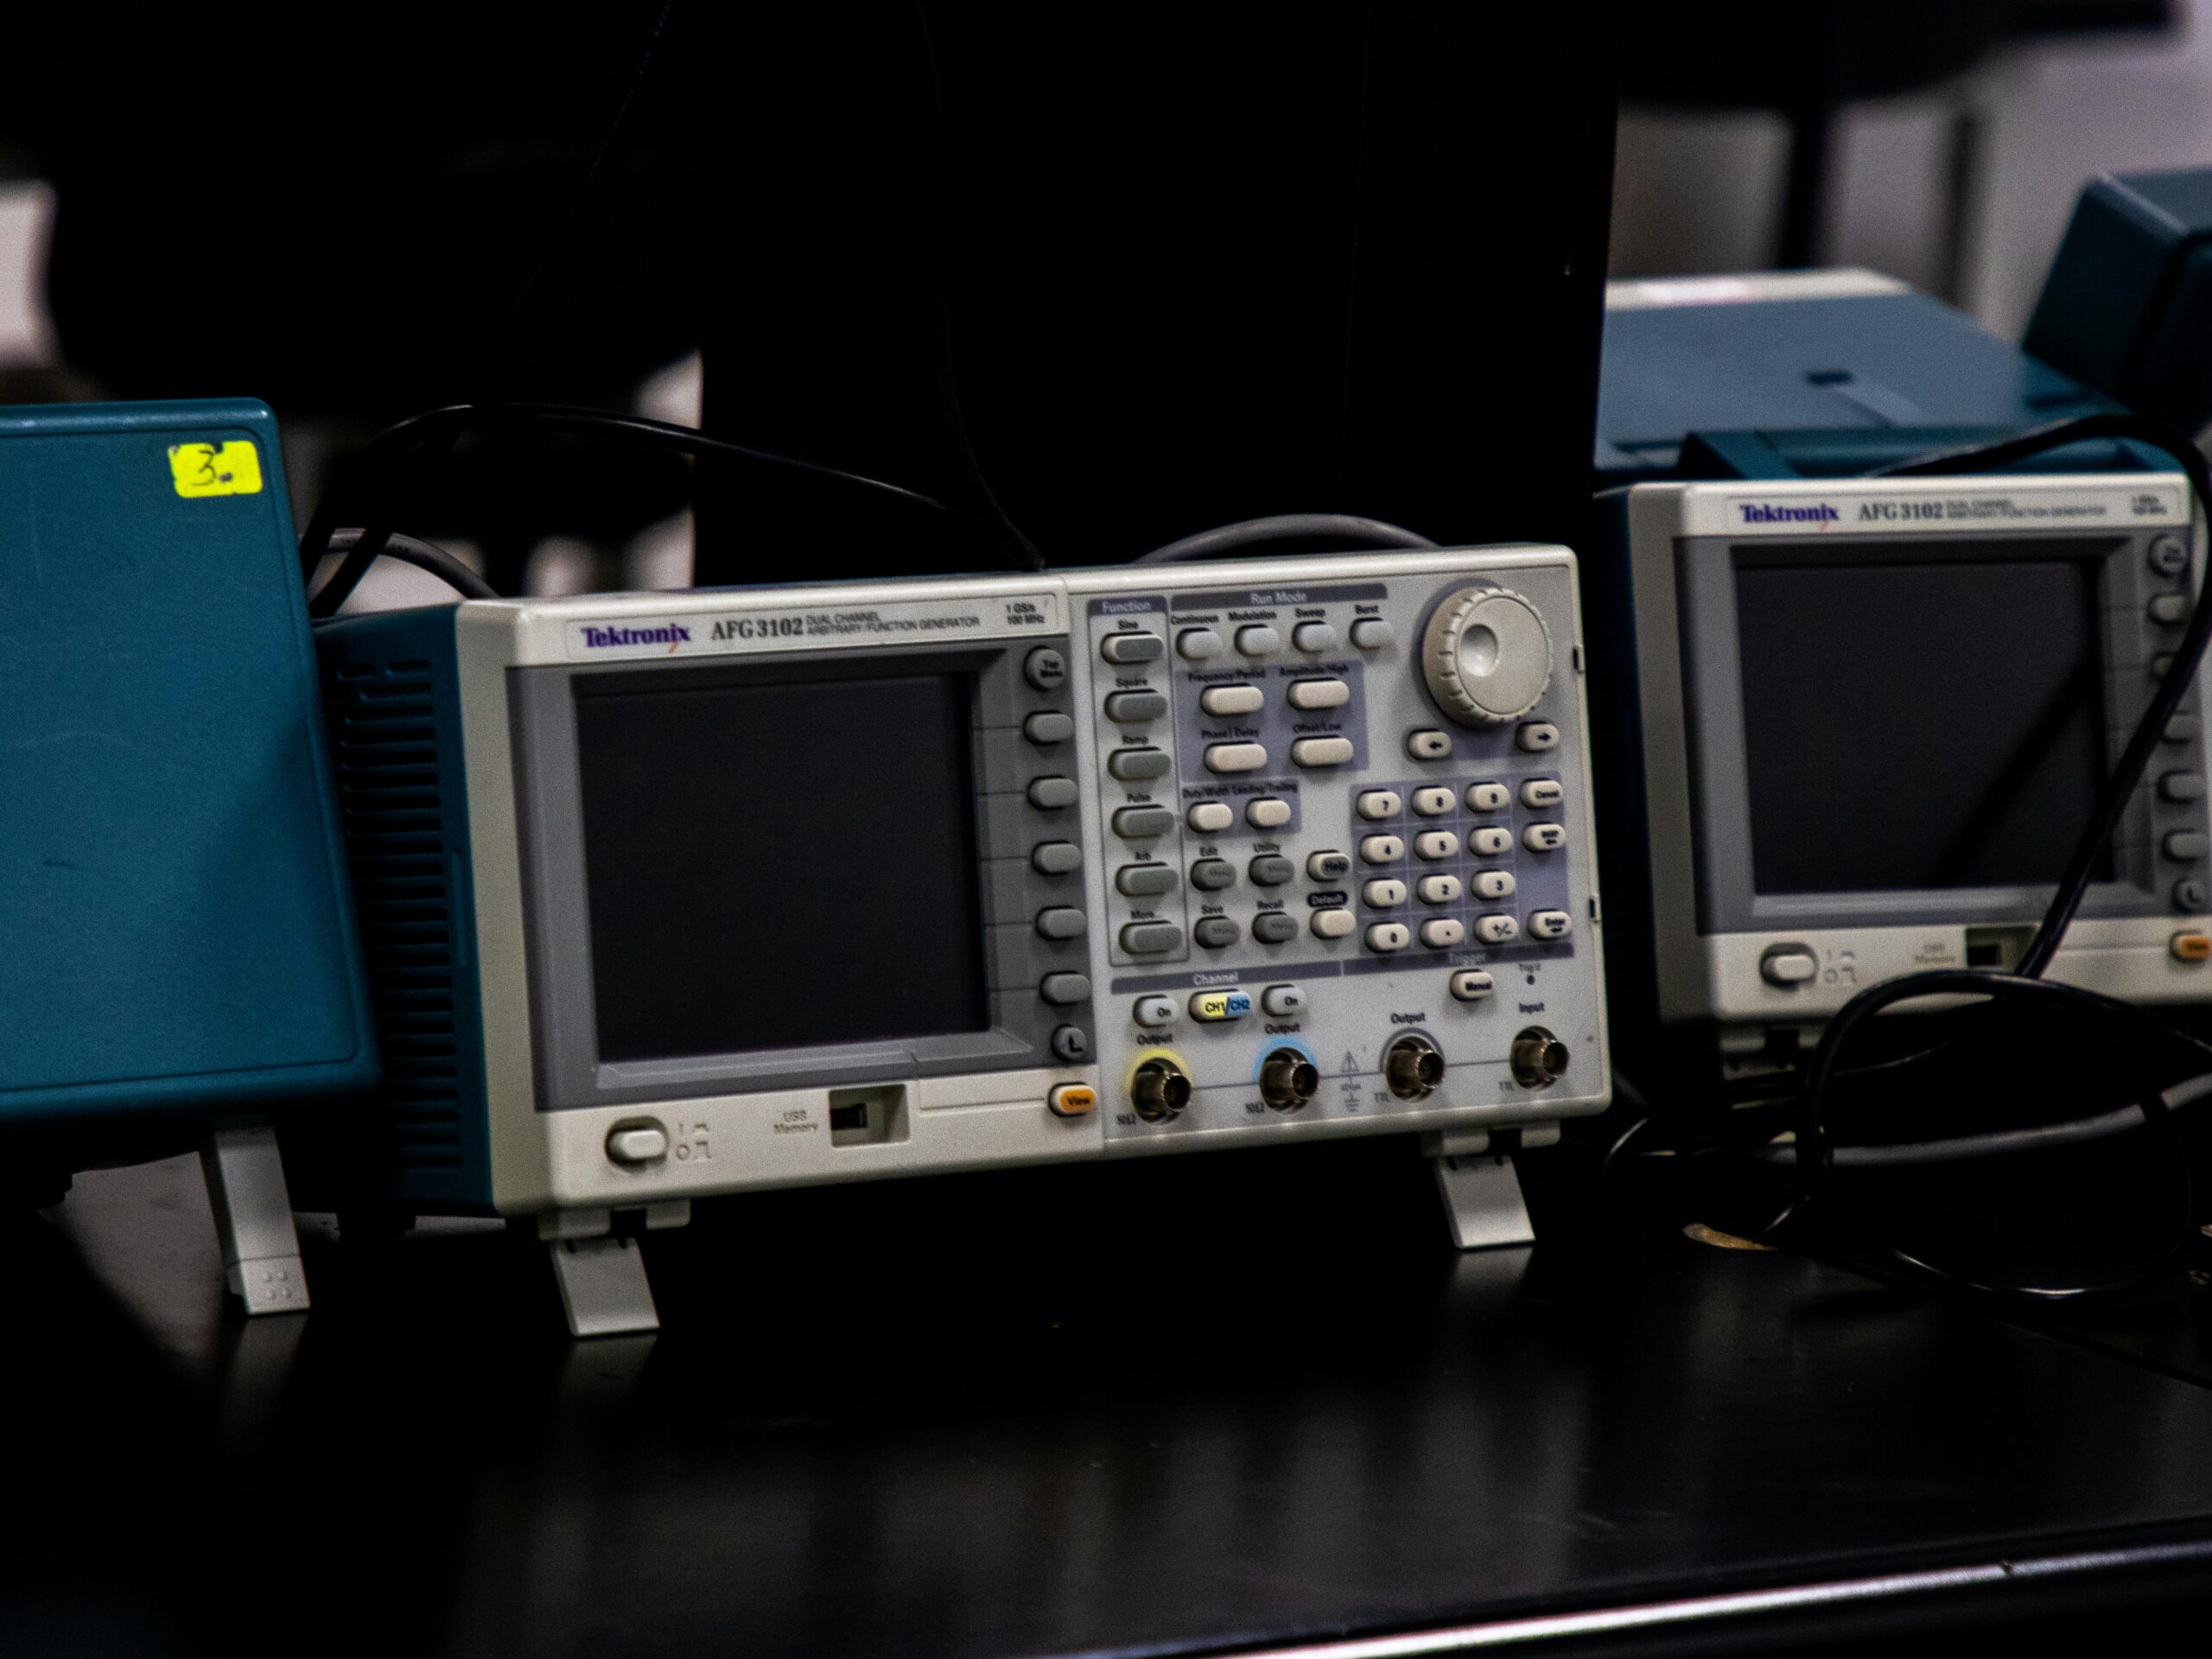
Calibration drift is a silent threat to measurement accuracy, gradually undermining the reliability of instruments across industries and demanding proactive attention from professionals who depend on precise data.
🔬 Understanding the Fundamentals of Calibration Drift
Calibration drift represents the gradual deviation of a measuring instrument’s output from its original calibrated state over time. This phenomenon occurs regardless of how carefully equipment is maintained, affecting everything from laboratory scales to industrial sensors. The challenge lies not in whether drift will occur, but in how effectively organizations can detect and correct it before compromised measurements lead to costly consequences.
Every measuring instrument experiences some degree of drift due to various environmental and mechanical factors. Temperature fluctuations, mechanical wear, electrical component aging, and environmental contamination all contribute to this inevitable process. Understanding these underlying mechanisms is the first step toward developing effective strategies to combat calibration drift and maintain measurement integrity.
The impact of unchecked calibration drift extends far beyond simple measurement errors. In pharmaceutical manufacturing, drift can lead to product batches falling outside specification limits. In aerospace applications, it may compromise safety-critical measurements. For environmental monitoring, drift can result in inaccurate pollution readings that affect regulatory compliance and public health decisions.
🎯 Primary Causes Behind Measurement Deviation
Environmental conditions play a paramount role in accelerating calibration drift. Temperature variations cause thermal expansion and contraction in instrument components, affecting sensor characteristics and electronic circuitry. Humidity impacts electrical resistance and can promote corrosion in sensitive components. Atmospheric pressure changes influence pressure transducers and barometric instruments, while vibration and mechanical shock can physically alter sensor positioning and structural integrity.
Component aging represents another significant contributor to drift. Electronic components naturally degrade over time, with capacitors, resistors, and semiconductors experiencing characteristic value shifts. Mechanical wear affects moving parts in instruments, creating backlash, friction changes, and dimensional alterations. Optical components may develop coating degradation or alignment issues, while chemical sensors experience sensitivity loss due to catalyst poisoning or membrane degradation.
Material Fatigue and Structural Changes
Materials used in instrument construction undergo subtle changes through repeated stress cycles. Elastic elements in force and pressure sensors gradually lose their spring characteristics. Strain gauges experience bonding deterioration between the sensing element and the substrate. These microscopic changes accumulate over months and years, creating measurable drift patterns that require systematic correction.
Contamination represents an often-overlooked drift mechanism. Dust accumulation on optical surfaces reduces light transmission. Chemical residues on sensor surfaces alter their response characteristics. Moisture ingress affects electrical insulation resistance. Even seemingly clean laboratory environments cannot completely eliminate these contamination sources, making regular cleaning protocols essential for drift prevention.
📊 Recognizing Early Warning Signs of Drift
Detecting calibration drift before it compromises measurement quality requires vigilant monitoring and systematic verification procedures. Trending analysis of calibration history provides valuable insights into drift patterns. When instruments consistently show corrections in the same direction during successive calibrations, this indicates progressive drift rather than random variation.
Repeatability degradation often precedes significant accuracy drift. Instruments that previously delivered consistent readings for identical measurements may begin showing increased scatter. This loss of precision serves as an early warning that internal changes are affecting measurement stability, even if absolute accuracy appears unchanged.
Comparison with reference standards or redundant measurements reveals drift in real-time operations. When multiple instruments measuring the same parameter begin diverging, at least one is experiencing drift. Cross-checking critical measurements against known reference values or alternative measurement methods can identify problematic instruments before they affect product quality or process control.
Statistical Process Control Applications
Implementing statistical process control techniques specifically for calibration data enables quantitative drift detection. Control charts tracking “as-found” calibration values reveal systematic trends distinguishable from random variation. Instruments whose calibration corrections exceed expected statistical limits warrant investigation, even if they still meet acceptance criteria.
Automated data logging systems provide continuous monitoring capabilities that manual checks cannot match. Recording instrument outputs alongside process conditions creates datasets that sophisticated algorithms can analyze for subtle drift patterns. Machine learning approaches increasingly enable predictive maintenance, identifying instruments likely to drift beyond acceptable limits before scheduled calibration intervals.
⚙️ Establishing Robust Calibration Intervals
Determining optimal calibration frequency balances the risk of undetected drift against the costs and operational disruption of calibration activities. Fixed calendar-based intervals provide simplicity but may not align with actual drift rates. Risk-based approaches consider measurement criticality, historical drift patterns, and usage intensity to optimize calibration scheduling.
Instruments supporting critical safety functions or affecting product quality require more frequent calibration than those used for informational purposes. Historical performance data guides interval adjustments, with consistently stable instruments potentially qualifying for extended intervals while drift-prone equipment needs shorter cycles.
Dynamic Calibration Scheduling Strategies
Advanced calibration management systems implement condition-based scheduling, where calibration timing depends on actual performance monitoring rather than fixed intervals. Instruments remaining well within specification limits might extend their next calibration date, while those approaching tolerance boundaries trigger early recalibration. This approach optimizes resource allocation while maintaining measurement confidence.
Usage-based calibration intervals account for the relationship between instrument operation hours and drift rates. Instruments experiencing heavy use may drift faster than occasionally used equipment. Tracking operational hours or measurement cycles enables more accurate prediction of when calibration becomes necessary, particularly for instruments with usage-dependent wear mechanisms.
🛠️ Implementing Effective Drift Compensation Techniques
Software-based drift compensation utilizes mathematical algorithms to correct for predictable drift patterns. By characterizing how an instrument drifts under specific conditions, correction factors can be automatically applied to measurements. Temperature compensation exemplifies this approach, with many instruments incorporating temperature sensors and correction algorithms to minimize thermal drift effects.
Regular adjustment procedures between formal calibrations help maintain accuracy without full recalibration overhead. Simple zero adjustments using readily available reference points can correct offset drift without requiring traceable standards or extensive documentation. Span adjustments using stable reference materials extend the time between comprehensive calibrations for instruments exhibiting linear drift characteristics.
Environmental Control for Drift Minimization
Maintaining stable environmental conditions fundamentally reduces drift rates. Climate-controlled laboratories minimize temperature and humidity variations affecting sensitive instruments. Vibration isolation systems protect precision equipment from mechanical disturbances. Contamination control through air filtration and proper housekeeping extends instrument stability between calibrations.
For field instruments where environmental control is impractical, protective enclosures with thermal insulation, humidity barriers, and shock absorption mitigate drift acceleration. Some applications justify conditioned enclosures maintaining instrument-local environments within tighter specifications than surrounding conditions.
📱 Technology Solutions for Calibration Management
Modern calibration management software transforms drift tracking from manual spreadsheets to automated systems. These platforms maintain comprehensive calibration histories, generate trending reports, and issue timely calibration due notifications. Integration with quality management systems ensures calibration status is verified before instruments are used for critical measurements.
Cloud-based calibration management enables centralized oversight of distributed instrument populations. Multi-site organizations achieve consistency in calibration practices while gaining visibility into performance trends across locations. Digital certificates and electronic record-keeping streamline audit compliance while reducing administrative burden.
Mobile Applications for Field Calibration
Mobile calibration apps bring sophisticated calibration capabilities to field environments. Technicians can access instrument histories, record calibration results, and generate certificates using tablets or smartphones. Offline functionality ensures operations continue in areas without network connectivity, with data synchronizing when connection resumes.
These applications often incorporate guided calibration procedures with step-by-step instructions, reducing training requirements and improving consistency. Built-in calculation engines perform uncertainty analysis and tolerance evaluation automatically, minimizing calculation errors that manual methods are prone to.
🔍 Advanced Monitoring and Predictive Approaches
Continuous monitoring systems represent the cutting edge of drift management. Permanently installed reference standards enable constant verification of instrument performance without disrupting operations. Automated comparison algorithms alert personnel immediately when measurements deviate beyond acceptance criteria, enabling proactive intervention before drift affects product quality.
Predictive analytics leverage historical calibration data to forecast when instruments will likely drift beyond specifications. Machine learning models identify subtle patterns correlating with accelerated drift, such as specific environmental conditions or usage patterns. These predictions enable proactive recalibration scheduling that prevents out-of-tolerance conditions rather than merely detecting them after occurrence.
Internet of Things Integration
IoT-enabled instruments continuously report their status, including self-diagnostic information indicating potential drift conditions. Temperature sensors, performance counters, and internal reference checks provide real-time health monitoring. Centralized systems aggregate this information across instrument fleets, identifying emerging problems and optimizing maintenance resources.
Blockchain technology offers emerging solutions for calibration record integrity. Immutable ledgers ensure calibration histories cannot be altered after recording, strengthening audit trails and regulatory compliance. Smart contracts can automate calibration scheduling based on predefined rules, ensuring instruments receive timely attention regardless of administrative oversights.
💼 Industry-Specific Drift Challenges and Solutions
Pharmaceutical manufacturing faces stringent regulatory requirements for calibration and measurement accuracy. FDA guidance documents and pharmacopeial standards define acceptable measurement uncertainty and calibration intervals. Temperature mapping studies, cleanroom particle counters, and analytical balance calibration exemplify critical applications where drift directly impacts product quality and regulatory compliance.
Aerospace and defense industries manage instruments measuring parameters where drift could compromise safety. Torque wrenches, pressure gauges, and dimensional measurement equipment require rigorous calibration programs with full traceability to national standards. Non-conformance tracking systems ensure any measurements made with out-of-tolerance instruments undergo evaluation for impact on part acceptability.
Environmental Monitoring Considerations
Environmental monitoring stations operate in uncontrolled outdoor conditions promoting rapid drift. Air quality sensors, weather instruments, and water quality monitors experience contamination, temperature extremes, and humidity exposure accelerating drift beyond laboratory rates. Remote locations complicate calibration logistics, necessitating longer intervals balanced against increased drift risk.
Portable reference standards enable field calibration, bringing traceable measurements to instruments rather than transporting instruments to laboratories. Solar-powered calibration systems maintain reference conditions in remote locations. Satellite telemetry allows expert oversight of field calibration activities performed by less specialized personnel.
📈 Measuring Success in Drift Management Programs
Effective drift management programs require quantifiable metrics demonstrating their value. The percentage of instruments found within tolerance during calibration indicates program effectiveness. High in-tolerance rates suggest appropriate calibration intervals and stable instrument performance, while frequent out-of-tolerance findings may indicate intervals that are too long or deteriorating instruments requiring replacement.
Measurement uncertainty contributions from drift represent another key metric. As drift increases, measurement uncertainty grows, potentially requiring expanded specification limits or more frequent calibration. Tracking uncertainty trends reveals whether drift control measures effectively maintain measurement capability within required levels.
Cost-Benefit Analysis Framework
Calibration programs must balance accuracy assurance against resource consumption. Calculating the total cost of calibration activities, including labor, reference standards, instrument downtime, and documentation, establishes the program’s investment. Comparing this against avoided costs from measurement errors, rejected products, and compliance failures demonstrates return on investment.
Optimized programs minimize total quality costs by finding the sweet spot between calibration frequency and drift risk. Too-frequent calibration wastes resources on instruments that would remain accurate longer, while insufficient calibration risks costly errors. Data-driven interval adjustment achieves this balance, reducing total costs while maintaining measurement confidence.
🚀 Future Trends in Calibration Technology
Artificial intelligence increasingly influences calibration management. Neural networks trained on vast calibration datasets predict drift patterns with unprecedented accuracy. These systems recommend optimal calibration intervals for individual instruments based on their unique characteristics rather than population averages, improving efficiency while maintaining measurement integrity.
Self-calibrating instruments represent an emerging technology category. Built-in reference standards and automated comparison algorithms enable instruments to verify and adjust their calibration without external intervention. While not eliminating the need for periodic traceable calibration, these capabilities extend intervals and provide continuous confidence in measurement accuracy.
Digital twins of measurement systems simulate drift behavior under various operating conditions. These virtual models, validated against actual instrument performance, enable scenario analysis and optimization studies impossible with physical systems. Organizations can evaluate calibration strategy changes virtually before implementation, reducing risks and accelerating improvement initiatives.
✨ Building a Culture of Measurement Excellence
Technical systems alone cannot ensure measurement accuracy without organizational commitment to quality. Personnel at all levels must understand that measurement integrity underpins product quality, regulatory compliance, and customer satisfaction. Training programs should emphasize proper instrument use, storage, and handling practices that minimize drift acceleration.
Empowering operators to question suspicious measurements creates a human safety net complementing technical controls. When readings seem inconsistent with expectations, investigating potential calibration issues before proceeding prevents compounding errors. This questioning attitude requires psychological safety where reporting concerns is encouraged rather than punished.
Continuous improvement methodologies applied to calibration programs identify optimization opportunities. Regular program reviews analyzing metrics, examining near-misses, and incorporating technological advances ensure calibration practices evolve with organizational needs and industry best practices. Benchmarking against similar organizations reveals performance gaps and improvement opportunities.

🎓 The Path Forward in Precision Measurement
Mastering calibration drift requires combining technical knowledge, systematic processes, and appropriate technology. Organizations that view calibration as a value-adding activity rather than a compliance burden gain competitive advantages through improved quality, reduced waste, and enhanced customer confidence. The investment in robust drift management programs pays dividends through fewer measurement-related problems and greater operational efficiency.
As measurement technologies advance and data analytics capabilities expand, drift management will become increasingly predictive rather than reactive. The future belongs to organizations that embrace these innovations while maintaining fundamental principles of measurement traceability and documented evidence. Success in this endeavor demands ongoing commitment to learning, adaptation, and excellence in measurement science.
Whether managing a single critical instrument or coordinating calibration across global operations, the principles remain consistent: understand drift mechanisms, implement appropriate monitoring, schedule calibration based on risk and evidence, and continuously improve practices based on performance data. These fundamentals, executed with discipline and enhanced by modern technology, ensure measurements remain accurate and reliable regardless of the challenges calibration drift presents.
Toni Santos is an optical systems analyst and precision measurement researcher specializing in the study of lens manufacturing constraints, observational accuracy challenges, and the critical uncertainties that emerge when scientific instruments meet theoretical inference. Through an interdisciplinary and rigorously technical lens, Toni investigates how humanity's observational tools impose fundamental limits on empirical knowledge — across optics, metrology, and experimental validation. His work is grounded in a fascination with lenses not only as devices, but as sources of systematic error. From aberration and distortion artifacts to calibration drift and resolution boundaries, Toni uncovers the physical and methodological factors through which technology constrains our capacity to measure the physical world accurately. With a background in optical engineering and measurement science, Toni blends material analysis with instrumentation research to reveal how lenses were designed to capture phenomena, yet inadvertently shape data, and encode technological limitations. As the creative mind behind kelyxora, Toni curates technical breakdowns, critical instrument studies, and precision interpretations that expose the deep structural ties between optics, measurement fidelity, and inference uncertainty. His work is a tribute to: The intrinsic constraints of Lens Manufacturing and Fabrication Limits The persistent errors of Measurement Inaccuracies and Sensor Drift The interpretive fragility of Scientific Inference and Validation The layered material reality of Technological Bottlenecks and Constraints Whether you're an instrumentation engineer, precision researcher, or critical examiner of observational reliability, Toni invites you to explore the hidden constraints of measurement systems — one lens, one error source, one bottleneck at a time.


